


Huawei Echolife BM622i 2011 Version is the predecessor of BM622i 2010
Version. Unlike the previous version, the firmware of BM622i 2011 is
more secured, the telnet port is close however can be open by triggering
using the terminal upgrader and the telnet / WebUI user account and
password is preset or fixed.
How to Change the MAC Address of Huawei Echolife BM622i 2011 Version WiMAX Modem?
The following step by step guide is the proper method in changing the MAC address of BM622i 2011 version.- If you are using Windows Vista 7 or 8, you should turn on or enable first the Telnet Client in the Control Panel/Program and Features/Turn Windows Features on or Off.
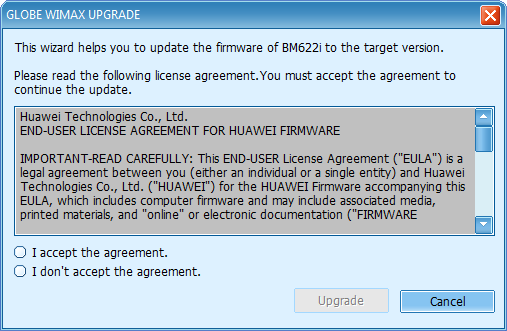
- Then, download one of the following terminal upgrader (such software will be used to trigger the modem to open its telnet port). BM622i_V100R001PHLC08B029PST03 - BM622i WiMAX Firmware Terminal Upgrader Version 29
- Connect the BM622i modem to the computer. Wait for a few minutes, until the modem is fully detected by the operating system.
- Unzip and execute the downloaded file. Wait for 30 seconds or more to allow the software to run in the background. Don't upgrade just leave the program being active in the desktop. If windows security alert will display, click "Allow access" button.
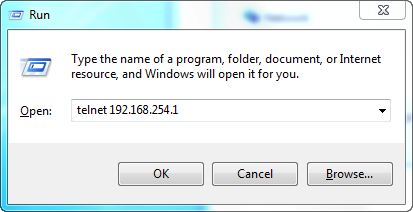
- In this instance, the telnet port of the BM622i modem is now open. Open Run dialog window. Type telnet 192.168.254.1 just like below then click OK button or press Enter.
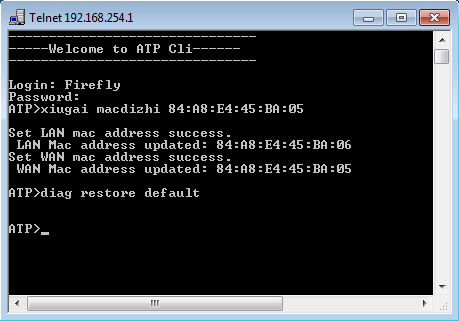
- In the telnet command line interface, type or paste Firefly in the Login line and press Enter.
- In the password line, type or paste $P4mb1h1r4N4m4nT0!! . The password characters will not display in the line. Just continue typing or pasting it right. Then press Enter.
- In the ATP> line, type xiugai macdizhi and the new MAC address just like the image below, and press Enter. (note: the MAC Address Generators of this site had already added the prefix command on its options. You can easily copy the command plus the selected MAC address from the generators.)
- Then, type diag restore default to take effect the changes and press Enter. After of that, the modem will reboot. You should wait for 3 to 4 minutes until the telnet prompt displays "the connection to the host is lost". Then, you can now close the telnet prompt and the terminal upgrader window.
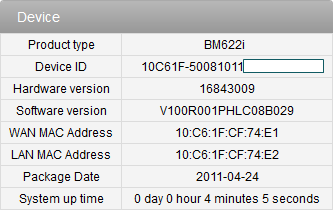
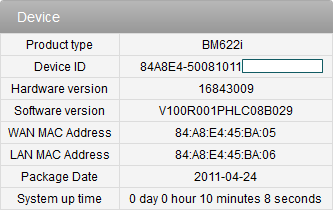
- Now go to the WebUI of the modem to view if the changes had take effect. Open a browser, type 192.168.254.1 in the address bar, then press Enter. In the WebUI type user in the Username and 0SlO051O in the Password boxes.
BM622i_V100R001PHLC08B030PST03 - BM622i WiMAX Firmware Terminal Upgrader Version 30
Following screenshots were taken before and after the changing of MAC address.
That's it. The process is fully tested by the author. However, use at your own risk and the author has no liability for any damage that may incur during your use of this tutorial.


3 comments:
@Anonymous
Welcome to my blog, if you wanted to write/post your article my blog is accepting without any cost. aside from that you will be given two(2) backlink to your website.
I need admin user and password also i cant accses to telnet
@Aph Otic
You may need to update or upgrade with the newer firmware version
Post a Comment