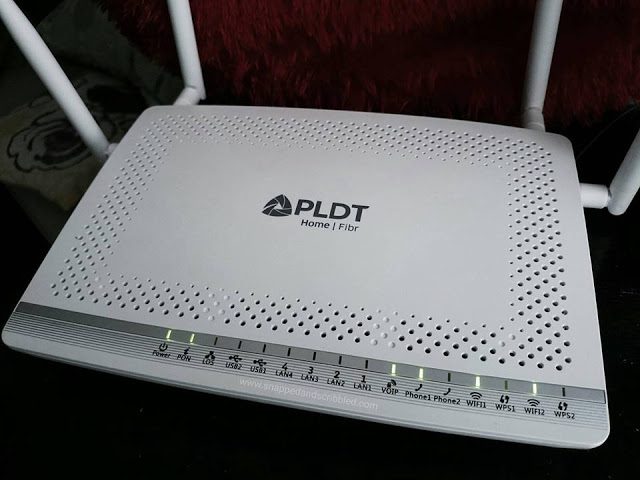
Its not only me and you who are in trouble on acquiring the full accessibility of the PLDT Fiberhome AN5506-04-XXX ONU/ONT device settings, this has been raise on youtube channel, online forum such as github and Symbianize but remain no gain control rather the only option is to sign for a waiver until the Fiberhome Super Admin account unveil. This is NOT a tutorial on how-to dissect your all-in-one PLDT Home Fibr equipment but rather a reference for those people like me who suffer from memory lost who always forgetful.

What we need on How-To gain the Fiberhome AN5506-XX-XXX series ONU/ONT serial communication port console? Firstly, a serial port, but nowadays PCs and Laptop comes along with no serial com port then you have to look for USB-to-TTL or USB-to-Serial Com port. Secondly, any HyperTerminal utility will do but if you are like me who wants to be comfortably I would prefer Putty. Thirdly is optional, if you feel that the cord of your USB-to-TTL is too short then you might consider USB cord extension.

So how we start it, power off your PLDT Fiberhome AN5506-04-FA/T ONU/ONT device, unplug the power supply adapter, unplug the PON optical fiber jumper cord, unplug the LAN cable if you are using wired PCs. After you disconnect all those nasty wiring from the unit equipment flip the device from top to bottom. There are four (4) rubber feet located on the surface bottom of the Optical Network Unit. Lift one by one the four rubber feet with your finger nails you will see screw under it, then take any screw driver and unscrew it to remove the tighten metal lock. After you have taken all the four screws flip the Optical Network Terminal again from bottom to top, now its time to uncover it by just lifting the cover from any side of it.

Once the it is uncovered you will then see the four pin header on the surface of the circuit board of the PLDT Home Fibr AN5506-04-FA, to recognized which pin is which, from the left it is mark as CN1 and next to the first pin is labeled as 1. From pin 1 is Vcc, next pin 2 is ground and 3 is Rx while 4 is the Tx. To hook it to the USB-to-TTL for proper data communication you will only need three(3) pins the ground, RC and the Tx. On the side of AN5506-XX-XXX series the ground is to ground of the USB-to-TTL while Rx is to TX and the Tx of the ONU it to the Rx of the USB-to-TTL.

Next thing to do is to plug the USB-to-TTL on your PC, on Microsoft Windows7 the windows will automatically load its driver you can verify on the Device Manager if it is properly working, it will gives you the com port number. If the driver is not installed properly then you have to Google it for your driver and install it to make it work.

Now we are ready to go, use any HyperTerminal or Putty utility, download it first if you do not have one on your desktop. Open Putty, click serial, the "Serial line to connect to" in my case its COM13 yours might differ fill it what your Device Manager gives. Baudrate the speed is 115200, Data bits is 8, Stop bits is 1 while Parity is None.

After filling the Putty Configuration, click on the Session you are ready to fireup your Serial Console port, click the tab button Open you will then be prompted by a black screen. Plug the power supply adapter of the PLDT Fiberhome AN5506-XX-XXX series.

Now you be seeing a logs fast booting of the AN5506-04-FA/T all-in-one device equipment. There is two (2) boots you can interrupt the first and the second boots if you wish to enter the U-Boot section utility console. In this environment you can change your MAC Addresses your PON and the Ethernet permanently. You can type reset it will reboot the device while on the second boots you can type reboot and it will halt the system and reboot it from its beginning processing.

To login inside the Serial data communication port the username and password is by defualt all Wahun Fiberhome product is gpon, that is the username and password you be logged as root. Precaution if you get into the root Shell you can wipe out the entire systems. Your ONU/ONT PLDT Home Fibr AN5506-04-XXX series will get Brick it will no longer boots up, and it need to be reflash again to make it work. To avoid any disaster will occur before doing so backup the entire thing as possible, yo can use WinSCP its a handy utility on windows you can just click and drag to copy it.